Background
I received a VX-7R radiotelephone from Maciej SQ9NJL for checking its functionality and unlocking the 4m band. After the initial charging, the radio began to show signs of life, so I thought it was a good moment to program the frequencies of local repeaters and test the radio in practice.
Building the cable
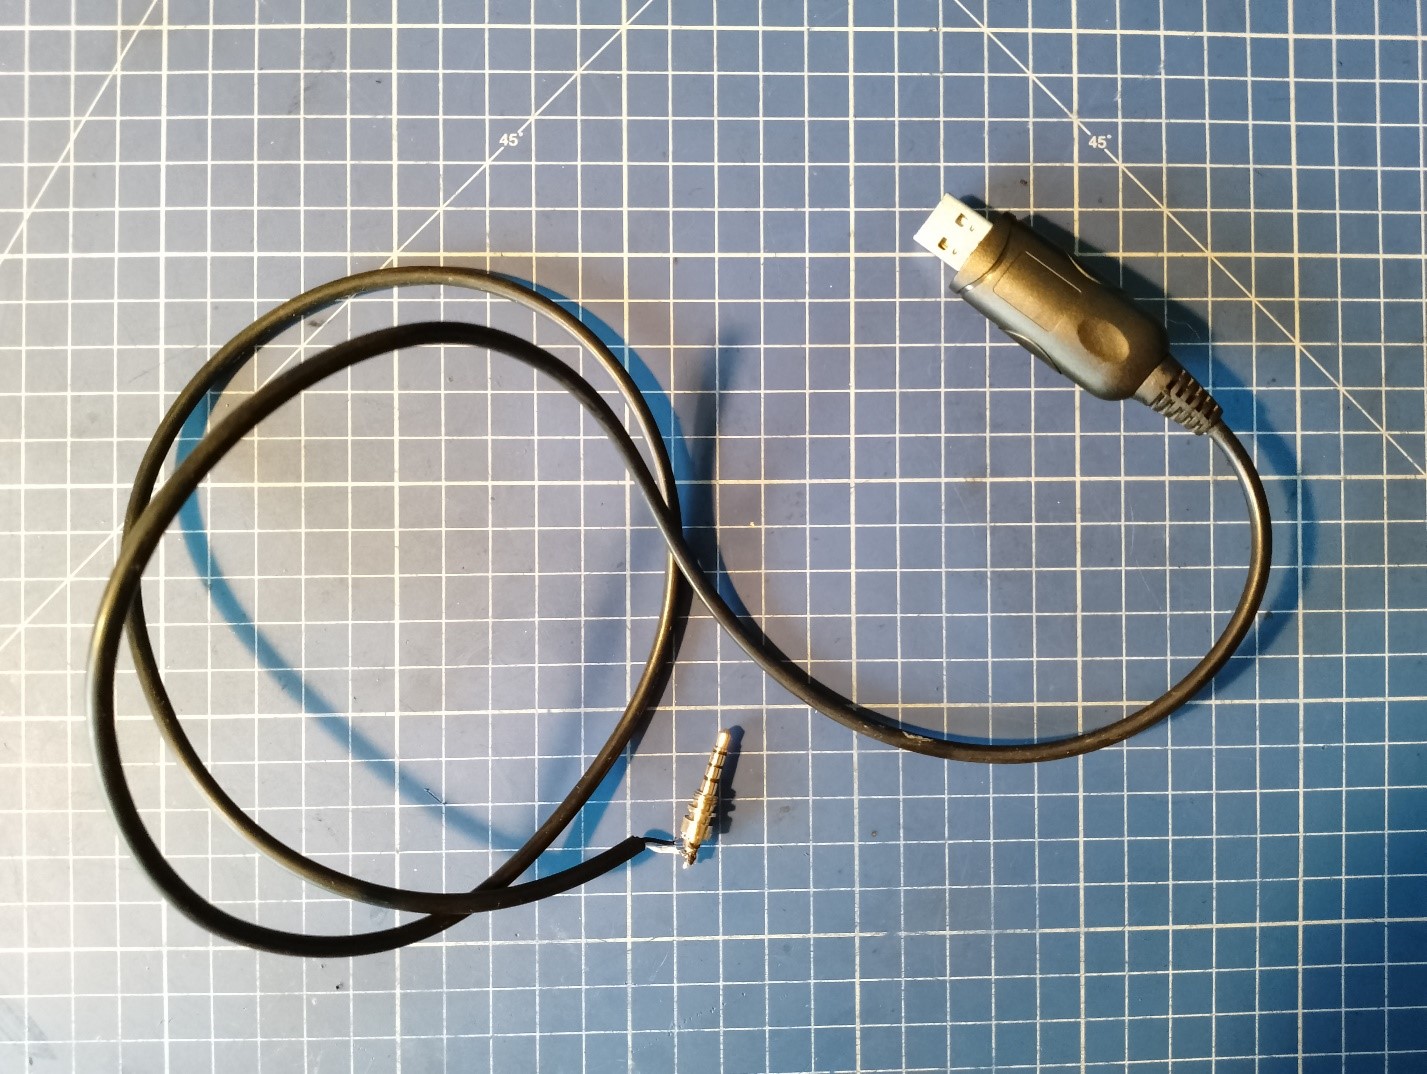
The programming cable can be purchased for around $15 on Amazon, but I decided to build my own. I ended up modifying the cable attached to an unknown radio that I found in my junkbox.
At first, I thought that the cable made based on this article would work, but unfortunately, I was wrong. So, I decided to describe how I managed to create a working cable.
PL2303 problems
If you use a USB-UART converter using the PL2303 chip, you must check the exact version. My cable is based on PL2303TA. Windows users need to install the driver from the manufacturer’s website . After installing the latest driver on Windows 11, it turned out that PL2303TA is not supported by it, but you can easily install the Windows 10 driver, in my case it helped. A separate issue is that after restarting the machine, I had to reinstall the driver because it detected that it was installed on an unsupported system. Therefore, before installing, I advise you to read this note:
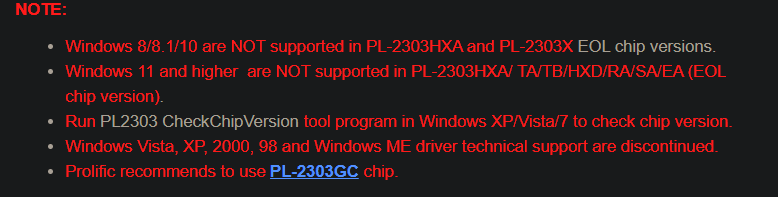
The selection of the converter is not critical, just remember to set the TTL (5V) levels on its output.
Main part
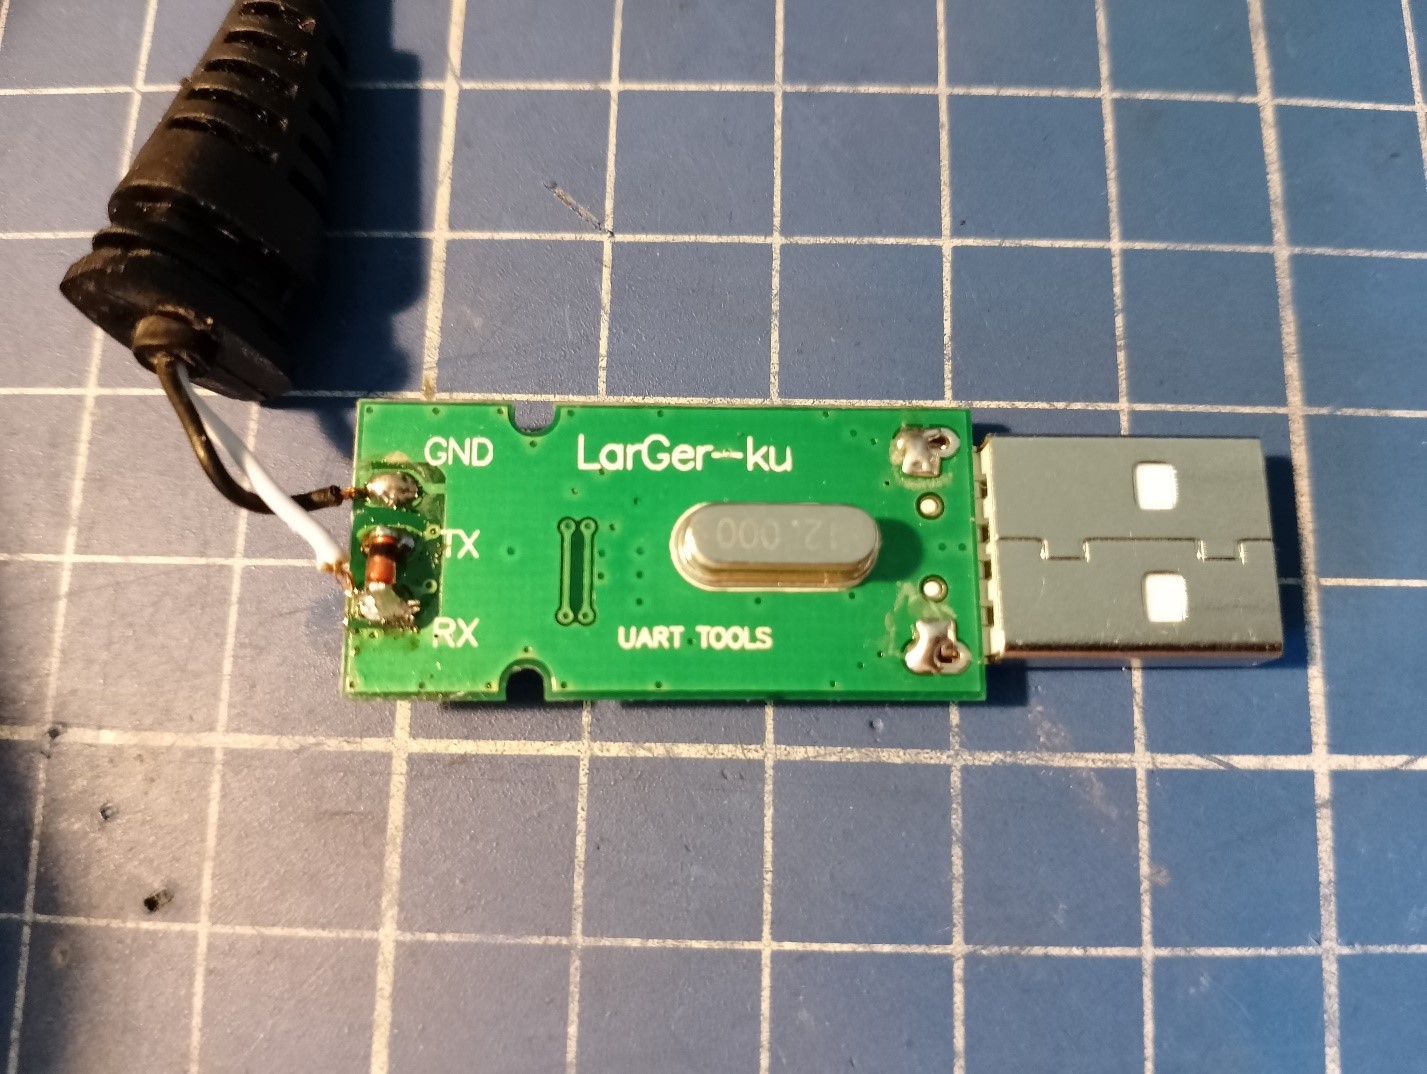
Just solder any small-signal diode (e.g. 1N4148) with the cathode to the TX output and the anode to the RX input. The cable going to the radio will have two wires: ground and data. We connect the data wire to the RX input of the converter. The whole thing should look like this:
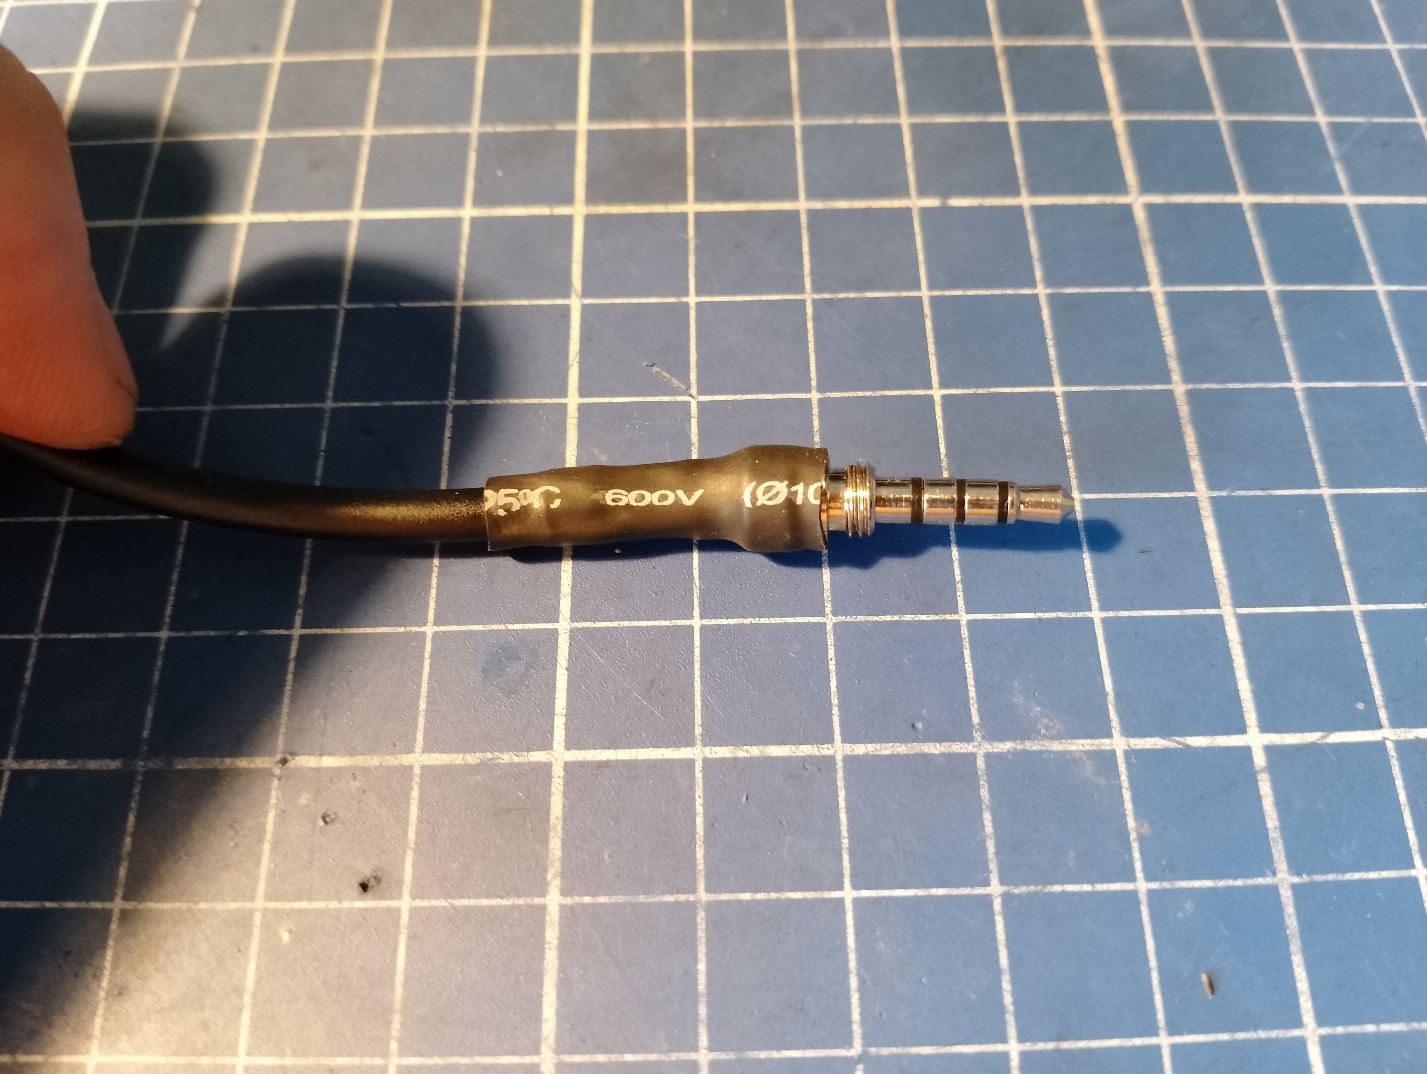
The plug should be connected as shown in the image below:
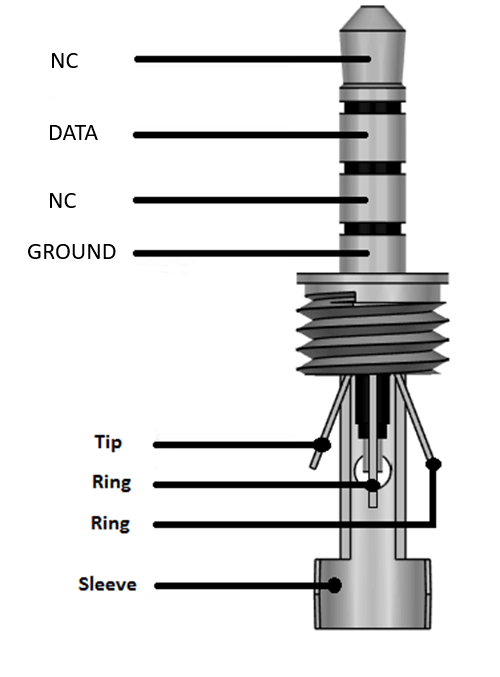
Before putting on the plastic cover, I recommend checking whether the plug can be inserted into the loudspeaker/microphone socket. In my case, the casing turned out to be too large, so I used heat shrink tubing instead.
Programming
With the cable prepared in this way, I could easily read the data from the radio using CHIRP. When trying to write to the radio, we can see an error like “failed to communicate with the radio: Radio did not ack block 1”. This is a known bug with CHIRP. Writing to the radio should be possible using the VX-7 Commander program by KC8UNJ.
What about unlocking the radio?
It turned out that the radio can be easily unlocked using software or by manipulating the jumpers, but unfortunately it does not give any power on the 4m band. I tested my radio on the Meratronik ZPFM3 set. The radio works without any problems slightly above 52MHz - the power gradually increases, reaches a peak around 62MHz (the wattmeter needle was dangerously close to the end of the scale in the 5W range) and then gradually decreases, and at the frequency of 70MHz it becomes unmeasurable.
Summary
I hope my experience will be useful for VX-7R owners, because I couldn’t find programming cable for VX-7R schematic anywhere (except obsolote designs whick uses RS232 port and level matching done with bipolar transistors…). Anyway, have fun with your radio!